How To
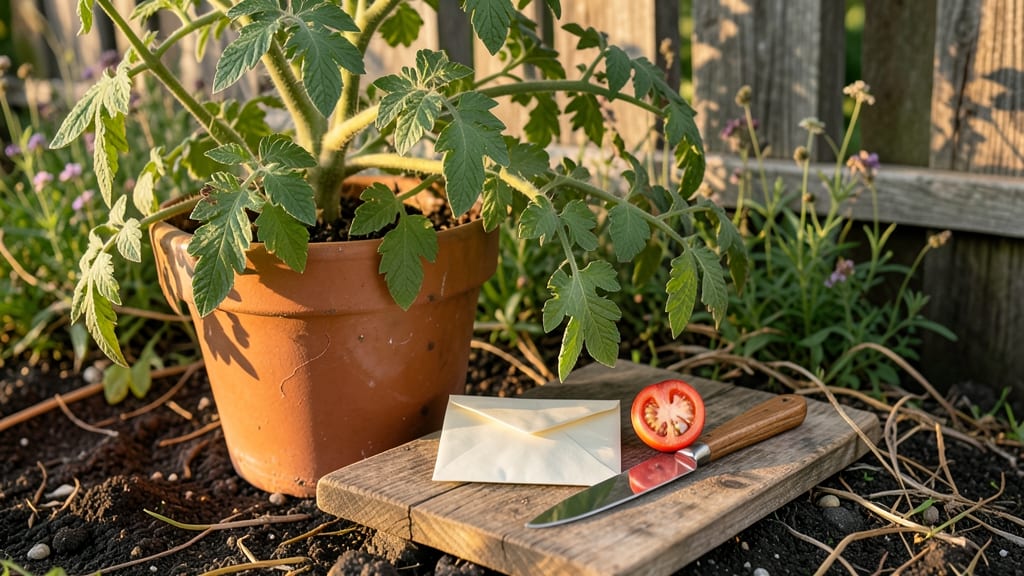
Harvesting tomato seeds for next year is the secret to growing your own heirloom varieties 🍅—but one wrong move can turn your hard work into dust.
Picture this: you’ve spent months nurturing your tomatoes, and now you’re staring at a bowl of gooey pulp, wondering if those tiny seeds will ever sprout. The truth? With the right steps—fermenting, rinsing, and drying—you can turn this year’s harvest into next year’s thriving plants.
I’ll walk you through the exact process, from picking the ripest fruit to storing seeds that stay viable for years.
Why bother? Because heirloom seeds save you money, preserve unique flavors, and connect you to the garden’s future. But hybrids? They won’t grow true from seed—so choose wisely. Below, I’ll cover everything you need to know, including how to avoid mold, speed up drying, and test those seeds before planting.
Ready to turn your tomato scraps into next season’s starters? Let’s get started—your future plants (and your wallet) will thank you.


Step-by-step guide to extracting tomato seeds from ripe fruit
Harvesting tomato seeds is one of the most rewarding parts of gardening—especially when you’re saving heirloom varieties that you love. The key to success lies in selecting the right tomatoes and following a precise fermentation process to ensure viable seeds for next season.
Whether you’re a beginner or a seasoned gardener, these steps will help you extract clean, dry seeds ready for storage.
Start by choosing fully ripe tomatoes that are slightly soft to the touch and have reached their mature color. Avoid overripe or diseased fruit, as they can introduce mold or pathogens to your seeds.
Once you’ve selected your tomatoes, the next step is to extract the seeds—this is where the magic (and science!) of fermentation comes into play.
How to Harvest Tomato Seeds for Next Year
- Step 1: Slice open 3-4 ripe tomatoes and scoop out the gelatinous seed pulp into a clean jar or bowl. Avoid adding water yet—this pulp contains natural enzymes that will help break down the gel.
- Step 2: Stir the seed pulp gently to mix with air, then cover the container with a clean cloth or paper towel. Leave it in a warm, dark place (like a pantry or closet) for 2-4 days to ferment.
- Step 3: After fermenting, stir the mixture again. The good seeds will sink to the bottom, while the bad seeds and pulp will float. Pour off the floating debris carefully, leaving only the sunk seeds in the jar.
- Step 4: Rinse the sunk seeds with cool water in a fine-mesh strainer or colander. Gently rub them between your fingers to remove any remaining gel. Repeat until the water runs clear.
- Step 5: Spread the clean seeds on a paper towel or mesh screen in a single layer. Let them dry in a well-ventilated area for 3-5 days, stirring occasionally to prevent clumping.
- Step 6: Once the seeds are completely dry and brittle, transfer them to a paper envelope or airtight container. Label with the variety name and date for easy identification next season.
If you notice mold or foul odors during fermentation, don’t panic—simply rinse the seeds thoroughly with hydrogen peroxide (3%) to kill any bacterial growth. This extra step ensures your seeds remain sterile and viable for planting.
For hybrid tomatoes, seed viability may be lower, but the process remains the same.
One common mistake is skipping the fermentation step or rushing the drying process. The gel surrounding the seeds contains natural inhibitors that can prevent germination if not properly removed.
Always allow enough time for the fermentation and drying phases—this is what guarantees high germination rates when you plant next year.
For large seed batches, consider using a fine-mesh sieve to speed up the rinsing process. This tool helps separate seeds from pulp more efficiently, saving you time and effort.
Once your seeds are dry, store them in a cool, dark place (like a seed vault or refrigerator) to maintain their long-term viability.
Pro tip: Test a few seeds before storing by placing them on a damp paper towel in a sealed container. Keep them in a warm spot for 5-7 days—if 50% or more sprout, your seeds are ready for long-term storage.
If germination is low, repeat the fermentation or drying process.
By following these steps, you’ll have a reliable supply of homegrown tomato seeds that are ready to plant when spring rolls around. Happy seed saving! 🌱
How to dry and store tomato seeds for maximum germination success
Once you’ve extracted your tomato seeds from fermented pulp, the next critical steps are drying and storing them properly to ensure high germination rates next season. Proper drying removes moisture that could cause mold or rot, while correct storage preserves seed viability for up to 5 years or more.
Let’s dive into the best methods to prepare your seeds for long-term success.
Drying seeds correctly is non-negotiable—moisture is the enemy of seed storage. Whether you use paper towels, mesh bags, or screen drying, the goal is to reduce moisture content to 5-8% without overheating.
Overdrying can kill seeds, while underdrying invites mold. Balance is key, and we’ll walk you through the safest techniques below.
comparison-table
| Method | Steps | Time Required | Best For |
|---|---|---|---|
| Paper Towel | Spread seeds on paper towels, cover with another towel, and place in a warm, dry spot for 3-5 days. | 3-5 days | Small batches, quick drying |
| Mesh Seed Bag | Place seeds in breathable mesh bags and hang in a shady, dry area for 7-10 days. | 7-10 days | Large batches, airflow |
| Screen Drying | Spread seeds on a fine mesh screen in a well-ventilated area for 5-7 days. | 5-7 days | Even drying, bulk seeds |
After drying, store your seeds in airtight containers like glass jars or envelopes with silica gel packets to absorb excess moisture. Label each container with the tomato variety and harvest year—this prevents mix-ups and helps track seed age.
Store containers in a cool, dark place, like a pantry or basement, where temperatures stay between 40-50°F (4-10°C).
Before planting next year, test seed viability by placing 10 seeds on a damp paper towel in a warm location. If 80% or more sprout within 7-10 days, your seeds are ready to go.
If germination is low, try storing seeds in the fridge for 30 days to break dormancy—this trick often works wonders for stubborn seeds.
Never store seeds in the freezer unless you’re preserving them for decades, as rapid temperature fluctuations can damage their cell structure. For most gardeners, a cool pantry is the sweet spot for seed longevity. With these methods, you’ll enjoy healthy, vigorous tomato plants year after year!