Lawn
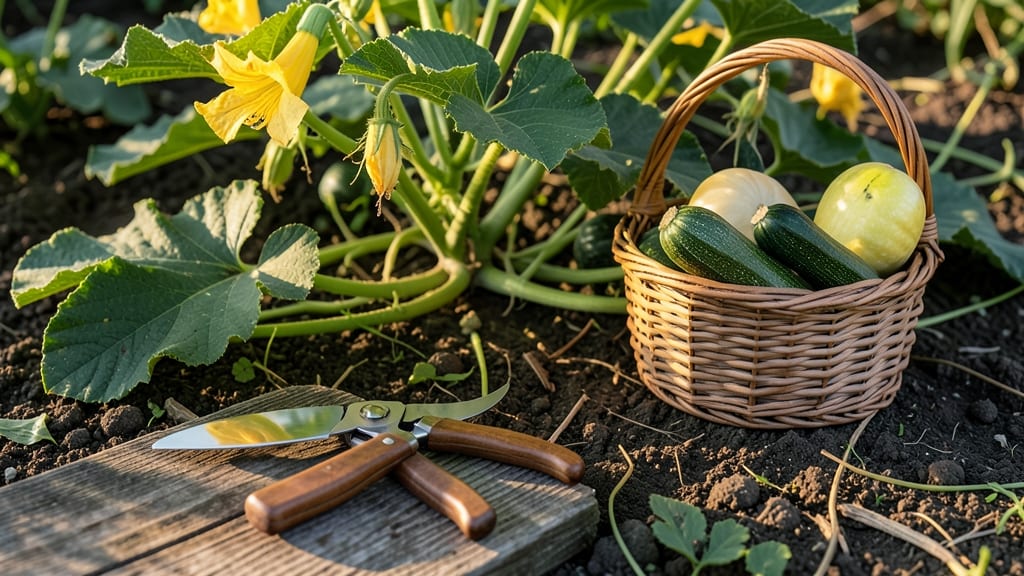
Saving squash seeds from your garden means next year’s plants will grow even stronger and more productive than the ones you’re harvesting now. 🌱 I’ve saved seeds for years, and the difference between store-bought and homegrown squash is like night and day—better flavor, better yield, and plants that thrive exactly where you grow them.
The process starts with selecting the healthiest, most vigorous squash plants in your patch—skip the ones with disease or poor fruit. Once you’ve chosen your winners, let the squash mature fully on the vine before harvesting, and save seeds from the best-looking ones.
Cleaning and drying them properly is key to long-term storage success, and I’ll walk you through every step to avoid common mistakes.
By the end, you’ll have seeds that stay viable for years, ready to plant in your garden next spring. The payoff? Squash that grows true to type, with the exact characteristics you love—no surprises, no disappointments. Plus, you’ll save money and reduce waste by keeping the cycle going.
Whether you’re growing zucchini, butternut, or acorn squash, this method works for all varieties. Here’s how to get started—and keep your seeds healthy for seasons to come.
📚 In This Guide
- What you need
- Instructions
- Tips and common mistakes
- Wrapping up and next steps
What you need
- ● Mature squash: 3–5 fully ripened, healthy squash (e.g., butternut, acorn, or zucchini) with hard, dry seeds inside.
- ● Knife or pruning shears: Sharp enough to cut through squash rinds cleanly.
- ● Cutting board or large bowl: For scooping out seeds and pulp.
- ● Water: Enough to fill a bowl or bucket for soaking seeds (about 2–3 gallons).
- ● Fine-mesh strainer or colander: With small holes (1–2 mm) to rinse seeds thoroughly.
- ● Paper towels or clean cloth: For drying seeds after rinsing.
- ○ Air-tight containers: Small jars (like mason jars) or resealable bags with silica gel packets (optional but recommended).
- ● Permanent marker & labels: To mark seed varieties and harvest dates.
- ● Patience! Seed drying takes 1–2 weeks—don’t rush it!
- ● Seed-saving journal: To track varieties, germination rates, and growing conditions.
- ● Food dehydrator: Speeds up drying time for large seed batches.
- ● Humidity pack: Extra silica gel or rice in bags to absorb moisture.
- ● Glassine envelopes: For long-term seed storage (lasts decades!).
- ● Digital scale: Weigh seeds to ensure proper moisture levels (<10% humidity).
Step-by-Step instructions for squash seed saving
Here’s how to preserve squash seeds for next season’s garden—simple, reliable, and ready when you are.
🌱 Step 1: Select and Harvest Mature Squash
Choose the healthiest, most productive plants in your garden for seed saving. Look for fully mature squash—wait until the skin hardens and the color deepens completely, even if it’s past edible prime. For example, butternut squash should have a thick, papery rind, while zucchini will turn tough and woody.
Harvest on a dry day when the fruit feels firm and heavy for its size. Cut the squash from the vine with 2-3 inches of stem attached—this helps prevent disease entry and makes seed extraction easier later. Leave the squash whole in a dry, shaded spot to cure for 1-2 weeks before opening. Curing concentrates sugars in the flesh and dries the seeds fully.
💧 Step 2: Extract and Clean the Seeds
Once cured, slice the squash open and scoop out the seeds along with the surrounding stringy pulp. Place the mixture in a large bowl of water—the seeds will sink while the pulp and any immature seeds will float. Let it sit for 10-15 minutes, then drain and rinse the seeds under lukewarm water to remove residual pulp.
Spread the seeds on a clean, dry paper towel or seed-saving screen in a single layer. Let them air-dry in a well-ventilated area for 3-5 days, stirring occasionally. The seeds are ready when they’re completely dry and brittle—they should break easily between your fingers. Avoid using a hairdryer or oven, as heat can damage viability.
☀️ Step 3: Test and Store the Seeds
Before storing, perform a float test to ensure only the best seeds remain. Drop a handful of dried seeds into a glass of water—any that float are non-viable and should be discarded. Save only the seeds that sink immediately. For extra confidence, plant a small test batch in sterile potting mix to confirm germination rates before committing to full storage.
Store the dried seeds in a paper envelope or glass jar with a desiccant packet (like silica gel) to absorb moisture. Label each container with the variety name and harvest year. Keep them in a cool, dark place—a pantry or seed vault works perfectly. Properly stored squash seeds remain viable for 4-5 years, though germination rates decline after 2-3 years. Check for freshness annually by testing a few seeds in moist paper towels.
⏰ Step 4: Maintain Seed Purity Year After Year
To preserve genetic integrity, keep saved seeds isolated from commercial varieties—squash easily cross-pollinate. If growing multiple varieties, space plants at least 1 mile apart or use row covers during flowering to prevent accidental crossbreeding. For small gardens, hand-pollinate specific flowers using a small paintbrush to ensure purity.
Each year, replant a few seeds from your saved stock to refresh vitality. Over time, you’ll develop a heirloom squash collection perfectly adapted to your climate and soil. Just remember: the more you save, the more you’ll have to share—and that’s the best part of seed saving!
Tips & tricks for perfect squash seed preservation
Here's what I learned after saving seeds for years—these tricks ensure you get the best possible germination rates and avoid common pitfalls.
Selection Matters: In Step 1, don't just grab any squash! Look for the healthiest plants with the best fruit—these will produce the most vigorous seeds. I've found that squash with the thickest rinds (like butternut) often yield seeds with the longest shelf life. Also, harvest on a dry morning when dew isn't present—this prevents mold from developing during your 1-2 week curing period.
Timing Secret: Those 10-15 minutes in water during Step 2 are crucial for separating viable seeds from pulp. If you're dealing with particularly fibrous squash varieties, you might need the full 15 minutes. I like to stir the mixture gently after 5 minutes to help break up stubborn pulp clumps. Just remember—don't let the seeds soak longer than needed, or they'll start absorbing too much water.
Drying Strategy: For the 3-5 day drying period in Step 2, I've found that placing seeds on a seed-saving screen in a well-ventilated area with indirect sunlight works best. If you're in a humid climate, consider using a small fan on low setting to circulate air without creating drafts. The seeds are ready when they make a crisp sound when rubbed between your fingers—this tells you they've lost all moisture.
Storage Wisdom: When storing your seeds in Step 3, don't skip the desiccant packet! I've seen seeds lose viability quickly when stored in humid environments. For extra protection, I like to place my seed jars inside a larger airtight container with additional silica gel packets. This creates a moisture barrier that helps maintain seed quality for those 4-5 years. Also, consider storing seeds in small portions—this way, you can test germination without compromising your entire stock.
Pro Tips for Squash Seed Saving
- Here's what I learned after saving seeds for years—these tricks ensure you get the best possible germination rates an...
- Selection Matters: In Step 1, don't just grab any squash! Look for the healthiest plants with the best fruit—these wi...
- Timing Secret: Those 10-15 minutes in water during Step 2 are crucial for separating viable seeds from pulp. If you'r...
Frequently asked questions
about squash seed saving—because every gardener deserves a little clarity!How do I know when squash seeds are fully mature for saving?
Wait until the squash is fully ripe—its skin hardens and turns a deep, solid color (no green spots!). For winter squash, the stem should dry and shrivel. For summer squash, harvest seeds from overripe fruits. Let the squash sit in a warm, dry place (like a sunny windowsill) for 2–3 days to soften the flesh before scooping out seeds.
Can I save seeds from hybrid squash varieties?
Unfortunately, no—hybrid seeds (marked "F1" or "hybrid") won’t produce true-to-type plants. Stick to heirloom or open-pollinated varieties for reliable seed saving. Check seed packets for labels like "OP" or "heirloom." Pro tip: Cross-pollination can happen between squash types (e.g., zucchini and pumpkins), so isolate varieties by at least 500 feet or use row covers!
What if my saved seeds smell moldy or look slimy?
Mold or sliminess means moisture got in during drying or storage. Discard those seeds immediately—mold can harm germination. To prevent this, ensure seeds are completely dry (no moisture left) before storing in airtight containers. Store in a cool, dark place (like a fridge) for extra protection. If seeds smell musty but look dry, they’re likely fine!
How long can I store squash seeds before planting?
Properly dried and stored squash seeds stay viable for 3–5 years (some last even longer!). Store them in a sealed container with a desiccant packet (or uncooked rice) to absorb moisture. Label seeds with the variety and year. For best results, test germination by planting a few seeds every 2–3 years—if they sprout, your stash is still good!
What’s the best way to handle cross-pollination between squash plants?
Squash plants (like zucchini, pumpkins, and butternut) are monoecious (male and female flowers on one plant) and easily cross-pollinate. To avoid mixed seeds:
- Isolate varieties: Plant different squash types at least 500 feet apart (or use physical barriers like mesh).
- Hand-pollinate: Use a paintbrush to transfer pollen from male to female flowers of the same variety.
- Harvest early: Pick seeds from the first squash of the season to minimize cross-contamination.
Wrapping up and next steps
Saving squash seeds is a rewarding way to ensure next year’s harvest thrives with vigorous, heirloom-quality plants—and you’ve got all the tools to make it easy! From proper drying to smart storage, every step keeps your seeds viable and ready to grow.
Whether you’re a seasoned gardener or just starting, this process connects you deeper to your plants and the cycle of life.
Ready to plant the seeds of next season’s success? 🌱 Grab those dried seeds, label them, and let your garden’s legacy grow—one squash at a time! Start planning your planting schedule today.