Planting
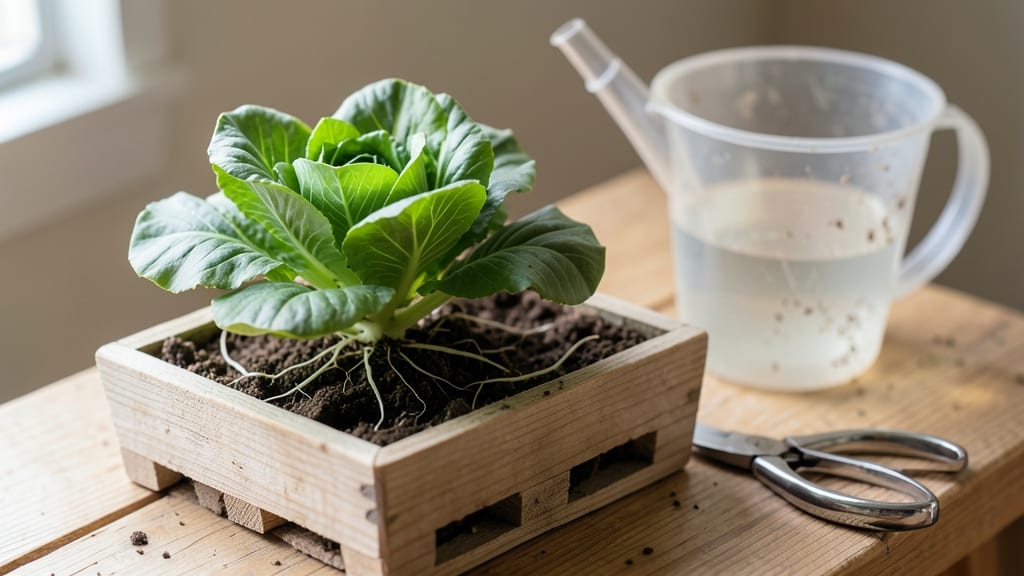
When seeds are sown at the right depth, you skip the frustration of spotty germination and get strong, uniform starts every time. 🌱 I learned this the hard way after watching my lettuce seeds rot in damp soil—until I measured the exact depth for each type.
The trick isn't just planting; it's creating the perfect conditions where seeds can breathe, stay moist, and find the light they need.
Start with loose, crumbly soil that's damp but not soggy—think of it like a well-wrung sponge. For tiny seeds like marigolds, press them just below the surface; larger beans can go twice as deep. A simple ruler and your fingertip are all you need to gauge depth consistently.
Most seeds need light to germinate, so avoid burying them deeper than their width, or you'll wait weeks for sprouts that may never come.
After sowing, keep the soil evenly moist with a spray bottle—no drownings, no dry spells. Place your trays or seedbeds in a warm spot (around 70°F) and cover with plastic wrap until you see tiny green hooks breaking through.
That first sprout is the payoff: knowing you've given them the exact conditions they need to thrive from day one.
This method works for both indoor starts and direct outdoor sowing—just adjust for temperature and sunlight. Lettuce and beans are foolproof choices to practice, but once you master depth, you'll tackle even finicky seeds like tomatoes with confidence.
The key? Paying attention to what each seed actually wants before you tuck it into the soil.
📚 In This Guide
- What you need
- Instructions
- Tips and common mistakes
- Wrapping up and next steps
What you need
- ● Seeds: Choose high-quality, fresh seeds (check the packet for specific planting depth recommendations).
- ● Containers: Seed trays or pots (with drainage holes) – 2–4 per seed type.
- ○ Biodegradable pots (optional, for transplanting).
- ● Growing Medium: Seed-starting mix (lightweight, sterile) – 1–2 bags (1–2 cubic feet).
- ○ Perlite or vermiculite (for aeration) – 1 small bag (optional).
- ● Tools: Small hand trowel or spoon (for precise planting).
- ● Spray bottle (for gentle watering).
- ● Ruler or measuring tape (for depth accuracy).
- ● Plant labels & marker (to track varieties).
- ● Heating mat (for faster germination, especially for cool-season seeds).
- ● Grow lights or sunny windowsill (if natural light is limited).
- ● Humidity dome or plastic wrap (to retain moisture).
- ● Fertilizer (balanced, low-dose, for post-germination care).
Step-by-Step instructions for sowing seeds at the perfect depth
Here's how I ensure every seed gets the right start—no guesswork, no wasted effort.
🌱 Step 1: Understand Your Seed's Germination Needs
Every seed has a sweet spot for depth. Tiny seeds like lettuce or parsley need just a 1/8-inch cover, while larger seeds like beans or peas go 1 inch deep. Check the seed packet—it’s your germination roadmap. I always group seeds by size to avoid confusion.
Light-loving seeds (like basil or petunias) need shallow planting, while those that prefer darkness (like carrots) can go deeper. This ensures they don’t waste energy fighting to reach light or get buried too deep and rot.
💧 Step 2: Prepare the Soil for Even Moisture
Loosen the top 2-3 inches of soil with a fork or trowel to create a soft bed for seeds. If planting in containers, use the seed-starting mix (not garden soil) to avoid compaction. Moisten the soil until it’s damp but not soggy—like a wrung-out sponge.
I like to run my finger through the soil to check moisture. If it feels dry, give it a light watering. Overly wet soil can suffocate seeds, while bone-dry soil prevents germination. Aim for a balance where water beads up slightly on the surface.
☀️ Step 3: Plant Seeds at the Right Depth
Use your finger or a small stick to make a tiny furrow or hole. For small seeds, I sprinkle them along the row and cover with a thin layer of soil. For larger seeds, place them individually at the correct depth—usually 2-3 times the seed’s width. Press gently to ensure good soil contact.
Don’t pack the soil too tightly—this can smother seeds. A light pat with the back of a spoon is enough. If seeds are too close, thin them later to avoid competition. I always label my rows to remember what’s planted where!
⏰ Step 4: Water Gently and Monitor for Sprouts
Water the soil lightly after planting to settle the seeds and remove any air pockets. Use a spray bottle for small seeds or a gentle stream for larger ones. Avoid blasting water, which can dislodge seeds or create deep grooves that trap them too deep.
Keep the soil consistently moist (not wet) until germination. Most seeds sprout within 7-14 days, depending on the type and conditions. Watch for the first tiny green shoots—this is your cue that everything is working!
🌿 Step 5: Adjust Care Based on Germination
Once sprouts appear, thin them if needed to give each plant enough space. For shallow-rooted plants like carrots, keep rows spaced 1 inch apart. For deeper-rooted plants like radishes, space them 2 inches apart.
If seeds don’t sprout within 2-3 weeks, they may need more warmth or moisture. I sometimes cover trays with plastic wrap to retain humidity until germination begins. Patience is key—don’t give up too soon!
Tips & tricks for perfect seed germination
Getting seeds to sprout reliably takes more than just tossing them in the dirt—here's how to maximize your success every time.
The Depth Factor: The 1/8-inch rule for tiny seeds like lettuce or parsley is non-negotiable. I've learned the hard way that even a 1/4-inch cover can block light and prevent germination. For larger seeds like beans, that 1-inch depth gives them room to grow without fighting the soil. Always check the seed packet—it's your best guide!
Soil Prep Secret: That 2-3 inch loosening of soil in Step 2 isn't just about seeds—it's about roots. Compacted soil strangles young plants before they even sprout. I like to use my fingers to gently fluff the soil rather than digging too deeply, which can bring up buried weed seeds you don't want.
Light-Loving vs. Dark-Lovers: Here's what nobody tells you—some seeds actually hate light at first! Carrots and parsnips prefer darkness initially, while basil and petunias need light to germinate. Plant light-loving seeds just under the surface, and those dark-loving varieties at their recommended depth to avoid frustration.
Watering Wisdom: That "wrung-out sponge" moisture level in Step 2 is crucial. Too wet and seeds rot; too dry and they won't sprout. I've found that watering with a spray bottle in the morning gives seeds consistent moisture without the risk of washing them away. And remember—water settles seeds, so a light watering after planting helps them make contact with the soil.
Pro Tips for Seeds Are Sown
- Getting seeds to sprout reliably takes more than just tossing them in the dirt—here's how to maximize your success ev...
- The Depth Factor: The 1/8-inch rule for tiny seeds like lettuce or parsley is non-negotiable. I've learned the hard w...
- Soil Prep Secret: That 2-3 inch loosening of soil in Step 2 isn't just about seeds—it's about roots. Compacted soil s...
Frequently asked questions
Got questions about sowing seeds with confidence? Here are answers to the most common ones—so you can grow with ease!
What’s the best soil depth for different seed types?
The rule of thumb is depth = seed width × 2-3 times. Tiny seeds (like lettuce) need just ¼ inch, while large seeds (like beans) can go 1-2 inches deep. Check your seed packet for specifics—some need darkness to germinate, while others thrive near the surface!
How long should I wait before seeds sprout?
Germination time varies wildly—from 3-7 days (fast growers like radishes) to 2-3 weeks (slowpokes like tomatoes). Keep soil moist and warm (70–85°F) and avoid moving pots. If nothing emerges after 3× the expected time, your seeds may need a fresh start!
Can I overwater seeds after planting?
Absolutely!
Overwatering drowns seeds by cutting off oxygen or washing them away. Use a spray bottle or gentle watering can to keep soil consistently moist (not soggy). A good test: Squeeze soil—it should feel like a wrung-out sponge. Drainage holes in pots are a must.
What if my seeds rot instead of sprouting?
Fungal rot (black/mushy seeds) usually means too much water, poor drainage, or cold soil. Fix it by:
- Using sterile, well-draining soil (add perlite or vermiculite).
- Watering only at the base (avoid overhead sprays).
- Keeping temps above 60°F (use a heat mat if needed).
Are there alternatives to planting seeds directly?
Yes! Try these low-stress methods:
- Seed starting trays: Controlled conditions for delicate seeds (like herbs or peppers).
- Biodegradable pots: Plant straight into soil—no transplant shock!
- Grow mats: Warm soil faster in cool climates.
- Layering: Sow seeds in 3 depths (shallow, medium, deep) to hedge bets on germination.
Wrapping up and next steps
Seeds are sown—and with the right layering techniques, you’re setting the stage for reliable, thriving growth. Whether you’re a seasoned gardener or just starting, patience and precision pay off. Now that you’ve got the tools and know-how, it’s time to roll up your sleeves and let nature do its magic!
Your next step? Start small—pick one layering method, experiment, and watch your plants reward you with lush, healthy roots. Happy planting! 🌱✨