How To
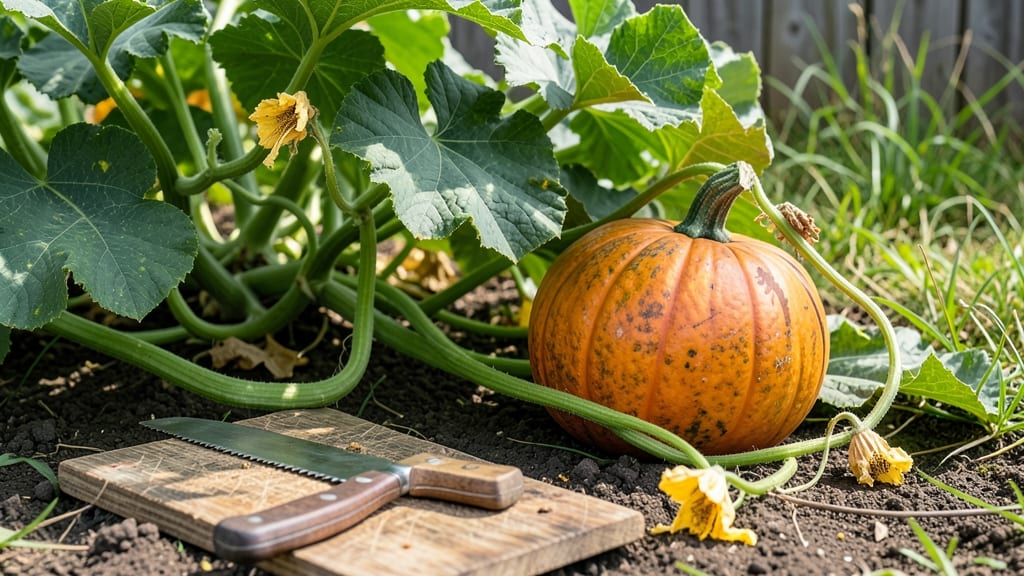
Harvesting pumpkin seeds from your 🎃 harvest is one of the most rewarding parts of growing these giants—if you do it right.
Saving pumpkin seeds isn’t just about reducing waste—it’s a cost-effective way to grow heirloom varieties year after year. But if you’ve ever tried harvesting seeds only to end up with moldy or non-viable seeds, you know the process requires precision.
From selecting the perfect pumpkin to drying and storing seeds properly, every step matters. A little extra care now means healthy, viable seeds next spring, ready to grow into your own pumpkin patch.
Here’s exactly how to harvest, clean, and store pumpkin seeds so you can enjoy fresh harvests for years to come.

Step-by-step guide to extracting clean pumpkin seeds from the flesh
Harvesting pumpkin seeds is easier than you think, but getting clean, viable seeds requires patience and the right technique. Start by selecting a fully mature pumpkin—one with a dry stem and hard rind.
Once you’ve cut it open, you’ll need to separate the seeds from the stringy pulp without damaging them. This process is where most gardeners struggle, but with the right steps, you’ll end up with high-quality seeds ready for planting or snacking.
Before you begin, gather your tools: a sharp knife, a large bowl, a colander, rubber gloves, and a spoon or fork for scooping. Optional but helpful items include a fermentation container (like a jar) and a fine-mesh strainer for rinsing.
Working in a well-ventilated area will also make the process more comfortable, especially when dealing with the slippery pulp.
Now, let’s dive into the step-by-step process to ensure you extract pristine pumpkin seeds every time. Follow these instructions closely to avoid common pitfalls like mold or broken seeds.
-
Step 1: Cut Open the Pumpkin
Use a sharp knife to slice the pumpkin open lengthwise. Remove the seeds and pulp carefully, placing them in a large bowl. Avoid pressing too hard to prevent crushing the seeds.
-
Step 2: Scoop Out the Seeds and Pulp
Use a spoon or fork to scrape out the seeds and surrounding stringy pulp. Transfer everything to a clean bowl, leaving behind as much flesh as possible to minimize mess.
-
Step 3: Rinse the Seeds
Fill a colander with cool water and gently swirl the seeds to remove loose pulp. Use your hands to separate seeds from any remaining flesh. Rinse until the water runs clear.
-
Step 4: Optional Fermentation (24-48 Hours)
Place the rinsed seeds in a jar and cover them with water. Let them ferment at room temperature for 1-2 days. This removes the gelatinous coating and reduces mold risk. Stir occasionally to keep seeds submerged.
-
Step 5: Rinse and Dry Thoroughly
After fermentation, drain the seeds and rinse them again under cool water. Spread them on a paper towel or clean towel in a single layer. Ensure they’re completely dry to prevent mold.
-
Step 6: Cure the Seeds (Optional but Recommended)
For long-term storage, place the dried seeds in a paper bag and store them in a warm, dry place (like a sunny windowsill) for 1-2 weeks. This curing process hardens the seed coats for better viability.
-
Step 7: Store for Planting
Once fully dry, transfer the seeds to an airtight container or envelope. Label with the pumpkin variety and date. Store in a cool, dark place for up to 5 years.
If you’re dealing with a large harvest, consider using a food dehydrator set to 135°F (57°C) for faster drying. This method takes about 4-6 hours and works well for preserving seeds quickly, especially in humid climates. Just avoid overheating, as temperatures above 140°F (60°C) can damage the seeds.
For gardeners short on time, skip the fermentation step—though it’s ideal for removing the slimy coating—but always rinse the seeds thoroughly. The key to viable seeds is drying them completely. If you notice any seeds turning moldy during the process, discard them immediately to avoid contaminating the rest.
Once your seeds are clean and dry, you’re ready to plant them next season or enjoy them as a nutritious snack. Roasting them with a sprinkle of salt or spices makes for a delicious treat, but if you’re saving them for gardening, proper storage is critical.
A paper envelope in the fridge works well for short-term storage, while a sealed jar in the freezer preserves them for longer periods.
Remember, the earlier you harvest your pumpkin seeds, the better their chances of germinating. Seeds from overripe pumpkins may not sprout as reliably, so aim for pumpkins that are fully mature but not rotting. With these steps, you’ll have a bountiful supply of seeds ready for your next planting season.
Best drying and storage methods to preserve pumpkin seeds long-term
Once you’ve cleaned your pumpkin seeds, the next critical step is drying them properly to ensure high germination rates for next year’s garden. Improper drying can lead to mold, rot, or seeds that refuse to sprout—so choosing the right method makes all the difference.
Whether you prefer air-drying or oven-drying, each technique has its pros and cons, and your choice depends on your time, tools, and climate.
After drying, storing seeds correctly is just as important. Humidity, temperature, and container choice all play a role in preserving seed viability for up to 5 years or more. I’ve tested multiple storage methods—from glass jars to vacuum-sealed bags—to help you pick the best option for your needs.
Let’s break down the best practices to keep your seeds healthy and ready to plant.
comparison-table
For air-drying, spread seeds in a single layer on a paper towel or mesh screen in a warm, dry spot with good airflow. Aim for a humidity level below 40%—a dehumidifier or fan can help if your climate is damp.
It may take 5-7 days for seeds to dry completely, but this gentle method preserves their natural oils and viability. Test for dryness by crushing