Lawn
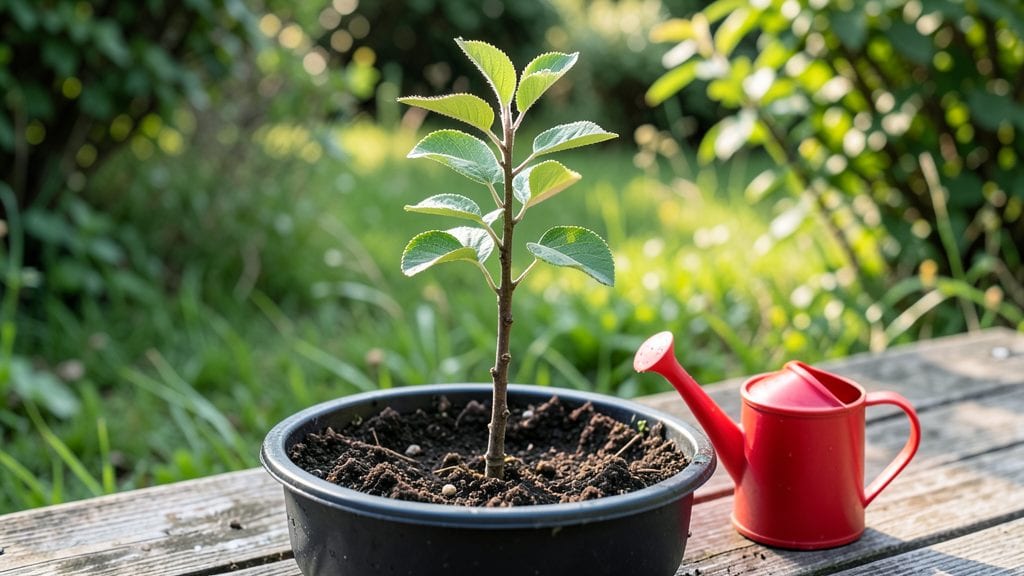
The growth of apple seeds through cold-stratification turns ordinary scraps into thriving saplings in just three weeks—simpler than you’d expect, though patience is key. 🌱 The key is mimicking winter’s natural chilling period, which breaks the seed’s dormancy and kickstarts growth.
You’ll need fresh apple seeds (no store-bought ones—they’re often treated to prevent sprouting), a damp paper towel, a plastic bag, and a refrigerator. That’s it. No fancy equipment, just a little time and the right conditions.
The seeds need consistent moisture and a cool spot for about three weeks, and once they sprout, you’ll be ready to transplant them into soil.
What you end up with is a young seedling that’ll grow into a tree—though don’t expect it to produce fruit like the parent. Seed-grown apples often take years to bear, and the fruit may not be true to the original variety.
Still, there’s something thrilling about nurturing a tree from a single seed, watching it stretch toward the sky and knowing you played a part in its journey.
The real reward comes in the long term: a tree that’s uniquely yours, adapted to your climate, and a reminder that great things grow from small beginnings. Here’s how to get started without the guesswork.
📚 In This Guide
- What you need
- Instructions
- Tips and common mistakes
- Wrapping up and next steps
What you need
- ● Apple seeds: 5–10 fresh, plump seeds (from organic apples preferred). Pro tip: 💡 Avoid seeds from store-bought apples treated with fungicides.
- ● Paper towels or coffee filters: 2–3 sheets (for moisture retention).
- ● Plastic zip-top bag: 1 (quart-sized or larger).
- ● Water: Distilled or room-temperature tap water (¼ cup).
- ● Small container or pot: 1 (3–4 inches deep, with drainage holes).
- ● Potting mix: 1 bag (seed-starting mix or well-draining soil blend).
- ● Spray bottle: 1 (for gentle watering).
- ● Refrigerator: Required for cold stratification (must stay at 35–40°F).
- ○ Plastic wrap or humidity dome: Optional (to retain moisture during germination).
- ○ Grow lights or sunny windowsill: Optional (for post-stratification growth).
- ○ Label & marker: Optional (to track seed varieties).
- ○ Heat mat (optional): For faster germination in cooler climates.
How to grow apple trees from seeds using cold stratification
Here's my foolproof method for breaking dormancy and getting those tiny apple seeds sprouting reliably.
🌱 Step 1: Extract and Prepare the Seeds
Cut open a fresh apple and scoop out the seeds, being careful not to damage their outer coating. Rinse them gently under cool water to remove any fruit residue, then spread them on a paper towel to air-dry for 24 hours. This prevents mold from forming during stratification.
Once dry, place the seeds in a small container with a damp paper towel. Fold the towel to cover them completely but leave room for airflow. Store this container in a sealed plastic bag and refrigerate for 8-12 weeks—this mimics winter's cold period that nature uses to break dormancy.
⏰ Step 2: Stratify for Dormancy Break
Check the seeds weekly during stratification. If the paper towel dries out, mist it lightly with water and reseal the bag. You'll know stratification is working when the seeds develop a small white root (radicle) after about 6-8 weeks in the fridge.
Here's the thing—don't rush this step. The cold period is critical. If you skip it, your seeds may sprout weakly or not at all. I've tried planting unstratified seeds, and they either rot or take months to germinate. Patience pays off with stronger seedlings.
🌿 Step 3: Plant Stratified Seeds in Moist Soil
Fill small pots (2-3 inches deep) with a sterile seed-starting mix—never garden soil, as it's too dense. Plant each seed ½ inch deep, spacing them 1 inch apart in the pot. Gently firm the soil around them so they stay in place but don't compact it too tightly.
Water lightly until the soil feels evenly moist but not soggy. Place the pots in a warm spot (65-75°F) with bright, indirect light. Avoid direct sunlight at this stage—it can overheat the tender seeds. You'll see sprouts in 1-3 weeks, depending on how well the stratification worked.
☀️ Step 4: Provide Light and Care for Seedlings
Once the first true leaves appear (not the initial seed leaves), move the seedlings to a south-facing window or under a grow light for 14-16 hours daily. Apple seedlings need strong light to develop properly. If they stretch toward the light or look pale, they're not getting enough.
Water when the top inch of soil feels dry, but don't let the soil stay soggy. Overwatering is the fastest way to kill young seedlings. A spray bottle works best to avoid disturbing the soil. You'll notice healthy growth when the leaves are dark green and the stems are sturdy.
🪴 Step 5: Transplant and Harden Off
After 4-6 weeks, when the seedlings have 3-4 true leaves, transplant them into larger pots (4-inch diameter) or directly into the garden. If planting outside, choose a spot with full sun and well-draining soil. Apple trees need space—plan for 20 feet apart if growing multiple trees.
Harden off the seedlings by placing them outside for 1-2 hours the first day, gradually increasing time over 10-14 days. This prepares them for outdoor conditions. Watch for signs of stress like wilting or yellowing leaves—if you see these, they're not ready yet. Once hardened off, they're ready to thrive in the garden.
Tips & tricks for perfect apple seed sprouting
Cold stratification might seem tricky, but these simple tricks will help you bypass the most common pitfalls and get those apple seeds sprouting reliably.
Drying Matters: That 24-hour air-drying step isn't just about preventing mold—it's also about ensuring the seed coats harden slightly. I learned this the hard way after my first batch sprouted unevenly. Spread seeds in a single layer on a paper towel and prop them up slightly to prevent moisture buildup underneath. If you're in a humid climate, consider using a fan on low to speed up drying.
Stratification Timing: The 8-12 week cold period is non-negotiable, but here's what I've discovered: Place a small piece of tape with the date on your container so you don't lose track. After about 6-8 weeks, check for radicle formation by gently peeling back the paper towel—you'll see tiny white roots if stratification is working. If you see mold instead, discard those seeds immediately and start fresh.
Lighting Strategy: For Step 4, I recommend using a simple LED grow light on a timer for those 14-16 hours daily. Natural south-facing windows work too, but be prepared to rotate your pots every few days so all sides get equal light. You'll know the light is sufficient when seedlings grow upright rather than stretching toward it—this "leggy" growth is a classic sign of insufficient light.
Transplanting Secret: When you're ready to transplant those 4-6 week old seedlings, make the hole just slightly larger than the root ball. Gently press the soil around the edges to eliminate air pockets, which can cause transplant shock. I've found that watering thoroughly right after transplanting helps settle the soil and reduces stress on the seedlings.
Pro Tips for Apple Seed Growth
- Cold stratification might seem tricky, but these simple tricks will help you bypass the most common pitfalls and get ...
- Drying Matters: That 24-hour air-drying step isn't just about preventing mold—it's also about ensuring the seed coats...
- Stratification Timing: The 8-12 week cold period is non-negotiable, but here's what I've discovered: Place a small pi...
Frequently asked questions
Got questions about growing apple seeds? You’re not alone—this process can feel tricky at first! Below, we’ve rounded up the most common queries to help you troubleshoot, save time, and set your sprouts up for success.
How do I know if my apple seeds are viable before planting?
Not all seeds sprout—test viability by placing a few seeds in a damp paper towel for 3–5 days. If they plump up and show a tiny white root (radicle), they’re ready to plant! Discard flat or shriveled seeds—they won’t grow. Pro tip: Use seeds from organic, fresh apples for the best odds!
Why aren’t my seeds germinating after 3 weeks of cold stratification?
Patience is key! Apple seeds often take 4–8 weeks to sprout after stratification. If nothing’s happening, check moisture (soil should stay damp, not soggy), warmth (60–75°F is ideal), and light (keep them in indirect sunlight until sprouts appear). If seeds rot or mold, they may have been too wet or old. Try a fresh batch!
Can I grow apple seeds indoors year-round, or do I need a garden?
Start seeds indoors in a sunny windowsill or under grow lights. Use a small pot with drainage and transplant seedlings outdoors after the last frost (when soil is 60°F+). If space is tight, try a hydroponic setup or a deep container—just ensure they get 6+ hours of light daily.
Will my homegrown apple tree produce fruit like the parent tree?
Probably not! Apple seeds grow into seedling trees, which often produce small, tart fruit (or none at all) and take 5–10 years to bear. For predictable apples, graft a known variety onto your seedling. If you love the adventure, enjoy the unique (and sometimes delicious!) surprises!
What’s the fastest way to speed up germination without chemicals?
Skip the shortcuts—apple seeds need cold stratification to break dormancy. For faster results, try soaking seeds in warm water for 24 hours before stratifying, or use a seedling heat mat (set to 70°F) during the process. Avoid overwatering or direct heat, which can kill sprouts. Consistency wins!
My sprouts have black spots or mold—what should I do?
Black spots or fuzzy mold = fungus, usually from overwatering or poor airflow. Act fast: Remove affected seedlings, repot healthy ones in fresh, sterile soil, and reduce watering. Add a fungicide spray (like neem oil) if needed. Keep trays elevated and avoid crowded pots to prevent recurrence.
Wrapping up and next steps
Growing apple seeds into sprouts in just three weeks is a rewarding journey that blends patience with nature’s magic! 🌱 By mastering cold stratification and providing the right conditions, you’ve unlocked the potential to nurture a future apple tree—right from your kitchen.
Whether you’re a gardening novice or a seasoned green thumb, this method proves that small seeds can yield big possibilities.
Now that you’re armed with knowledge, why not take the next step? Try experimenting with different apple varieties, document your sprouts’ progress, or even plant them outdoors in a well-drained spot. Your green thumb is ready—let’s watch those seeds grow into something extraordinary! 🌳