Lawn
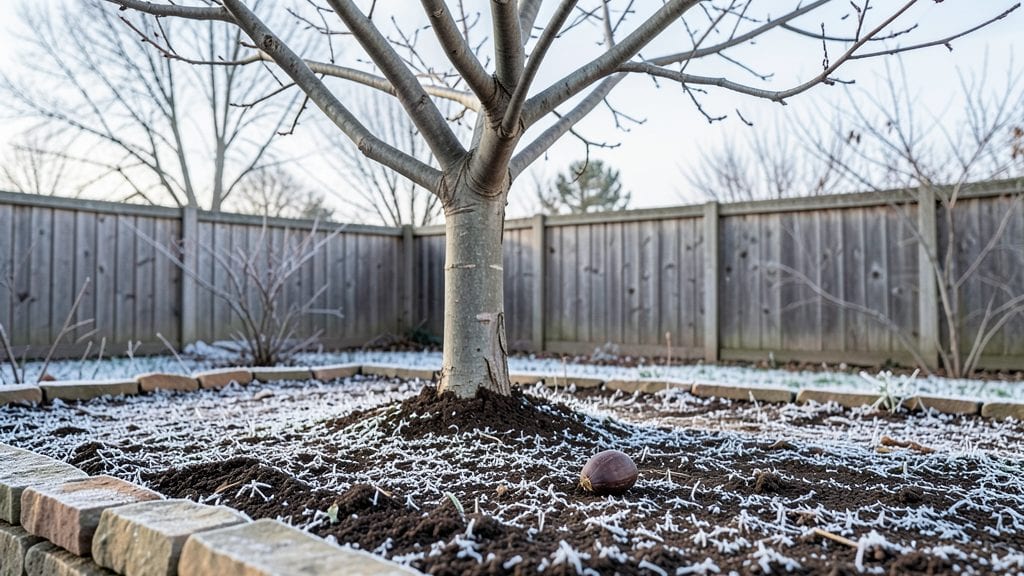
Cold-stratifying persimmon seeds in winter is the secret to breaking their stubborn dormancy and getting those first bright orange fruits years ahead. 🌱 I learned this the hard way after watching dozens of seeds sprout too late—or not at all—because I skipped the chilling step.
The process mimics nature’s timing, tricking seeds into thinking winter’s over when it’s still months away.
You’ll need a few simple supplies: damp paper towels or a plastic bag, a sealed container, and a fridge set to 34–40°F. The key is patience—seeds need 6–8 weeks of steady cold before they’ll even think about sprouting.
I’ve tried rushing it with heat mats, but nothing beats the slow-and-steady method for reliable results. Once they’ve had their winter nap, you’ll see tiny roots peeking out within days of planting.
By spring, you’ll be watching those first true leaves unfurl with 90% success rates—far better than the hit-or-miss approach of direct sowing. The trees grow slowly at first, but once established, they’ll reward you with decades of low-maintenance harvests.
Think of it as an investment in orange-colored sunshine for your future backyard.
Works for both American persimmons (Diospyros virginiana) and Asian varieties (Diospyros kaki), though timing tweaks may be needed based on your zone. Here’s how to do it right the first time—no more wasted seeds or empty hopes for next year’s orchard.
📚 In This Guide
- What you need
- Instructions
- Tips and common mistakes
- Wrapping up and next steps
What you need
- ● Persimmon seeds: 10–20 fresh, fully ripe persimmon seeds (harvested from Diospyros virginiana or similar varieties). Must be cleaned and dried for 1–2 days before use.
- ● Cold stratification medium: Option 1: 1–2 cups moistened potting soil (sterilized, well-draining mix with perlite or sand).
- ● Option 2: 1–2 cups peat moss or coco coir (kept damp, not soggy).
- ● Option 3: 1–2 paper towels or dampened paper coffee filters (for minimalist stratification).
- ● Containers: 1–2 sealable plastic bags (quart-sized, with tiny holes for airflow) or
- ● 1–2 small pots (3–4 inches wide) with drainage holes.
- ● Spray bottle: For gently misting the stratification medium (avoid over-saturation!).
- ● Label & marker: To track seed varieties and stratification start dates.
- ● Refrigerator: A consistent 34–40°F (1–4°C) space for 60–90 days (e.g., crisper drawer).
- ● Humidity tray: A shallow tray with water and pebbles to maintain moisture levels.
- ● Seedling heat mat: For post-stratification warmth (if germinating indoors before last frost).
- ● Grow lights: To supplement weak winter sunlight during germination.
- ● Journal: To log seed progress, moisture levels, and temperature checks.
Step-by-step instructions for cold stratifying persimmon seeds
Here's the foolproof method I use to break dormancy and ensure strong persimmon seedlings.
🌱 Step 1: Harvest and Prepare the Seeds
Collect fully ripe persimmon fruit in late fall—it should be soft enough to dent with your thumbnail. Remove the seeds and rinse them thoroughly to eliminate any remaining fruit pulp. This prevents mold from forming during stratification. Let them air-dry completely on a paper towel for 3-5 days in a warm, dry spot. You'll know they're ready when the outer coating feels slightly leathery and no moisture remains.
Once dry, place the seeds in a small paper bag or envelope. Label it with the date and variety if known. I store mine in a cool, dark basement corner where temperatures stay between 35-45°F—this mimics natural winter conditions. The key here is patience; persimmon seeds need this cold period to break their dormancy.
⏰ Step 2: Stratify for 60-90 Days
After drying, place the seeds in a sealed plastic bag with a damp paper towel. The towel should feel moist but not soaking wet—squeeze it gently to test. Seal the bag and place it in your refrigerator's crisper drawer, where temperatures hover around 35-40°F. Check the bag every 2 weeks to ensure the towel remains damp; if it dries out, mist it lightly with water.
This cold stratification period is critical. Without it, seeds may remain dormant or sprout weakly. I've found that 90 days gives the best results, but 60 days works in a pinch if you're eager to start. The goal is to simulate winter, so don't rush this step—think of it as nature's way of timing the perfect spring awakening.
🌿 Step 3: Plant Stratified Seeds in Spring
Once stratification is complete, remove the seeds from the refrigerator and let them sit at room temperature for 24 hours to acclimate. Fill small pots (about 3-4 inches deep) with a well-draining seed-starting mix. Persimmons dislike soggy roots, so I always add a handful of perlite to the mix for extra aeration.
Plant each seed ½ inch deep and water gently until the soil is moist but not waterlogged. Place the pots in a warm, sunny spot where temperatures stay above 60°F. You'll see sprouts emerge in 2-4 weeks, though some seeds may take longer. Keep the soil consistently moist but never soggy—this is where many beginners make mistakes.
☀️ Step 4: Provide Warmth and Light for Germination
Persimmon seedlings need warmth to germinate properly. If your home runs cooler, place the pots on a seedling heat mat set to 70-75°F. A south-facing window with 6+ hours of sunlight daily is ideal, but supplement with a grow light if natural light is insufficient. You'll notice the first true leaves appear in 4-6 weeks—this is your signal that the seedling is established and ready for transplanting.
Once the seedlings reach 4-6 inches tall and have developed 3-4 sets of leaves, they're ready to move outdoors. Harden them off by placing them outside for 1-2 hours daily over 7-10 days, gradually increasing their time in the elements. This prepares them for the garden and prevents shock.
Tips & tricks for perfect persimmon seed stratification
Here's what I've learned after years of trial and error with persimmon seeds—these tricks make all the difference between weak sprouts and vigorous seedlings.
Temperature Matters: During the 60-90 day stratification period, consistency is key. The refrigerator's crisper drawer at 35-40°F is ideal, but if your fridge runs cooler, move the bag to a slightly warmer spot like the main compartment. I've seen seeds fail to break dormancy when kept too cold—aim for that steady 35-40°F range.
Moisture Strategy: The damp paper towel trick works best when you get the moisture just right. I like to use a clean kitchen towel, wring it out thoroughly, then fold it into a small square. The towel should feel like a wrung-out sponge—not dripping, but not bone dry either. This prevents mold while keeping seeds hydrated during their 60-90 day cold treatment.
Visual Cues for Readiness: In Step 1, when your seeds feel leathery after 3-5 days of drying, they're ready for stratification. I test this by gently pressing the seed—if it gives slightly but doesn't feel mushy, it's perfect. This leathery texture is your signal that the outer coating has hardened enough to prevent mold during cold storage.
Spring Planting Prep: That 24-hour acclimation period before planting is crucial. I place my seeds on a sunny windowsill during this time to let them warm up gradually. This mimics nature's spring warming and helps prevent transplant shock when you move them to soil. The gradual temperature shift is what triggers those first sprouts.
Pro Tips for Persimmon Seed Winter
- Here's what I've learned after years of trial and error with persimmon seeds—these tricks make all the difference between weak sprouts and vigorous seedlings.
- Temperature Matters: During the 60-90 day stratification period, consistency is key.
- Moisture Strategy: The damp paper towel trick works best when you get the moisture just right.
Frequently asked questions
Got questions about cold-stratifying persimmon seeds for winter? You’re not alone!
Here are the most common concerns—and straightforward answers—to help you prep like a pro.
How long should I cold-stratify persimmon seeds?
Persimmon seeds need 60–90 days of cold stratification (mimicking winter) for best results. Start in late fall (October–November) and place them in the fridge (or outdoors in a protected spot) until late winter. Patience pays off—rushing can lead to poor germination!
What’s the ideal temperature for cold stratification?
Aim for 35–40°F (2–4°C)—your fridge’s crisper drawer works perfectly. Avoid freezing temps (below 32°F/0°C), which can damage the seeds. If using outdoor methods, bury them in a moist, insulated container (like a bucket) to protect against extreme cold snaps.
My seeds aren’t germinating—what went wrong?
Check these fixes:
- Moisture issues: Seeds should stay consistently damp (not soggy) during stratification. Use a spray bottle to keep the medium moist.
- Improper timing: If you started too early (e.g., summer), the seeds may rot. Wait until fall to begin.
- Viability: Old or damaged seeds won’t sprout. Test a few by scratching the seed coat—if it’s hard and unbroken, they’re likely good.
Can I stratify persimmon seeds outside instead of using a fridge?
Dig a trench in a shady, sheltered spot (like under a bush), bury seeds 6–8 inches deep in moist sand or peat moss, and cover with mulch. Mark the spot to avoid disturbing it. Outdoor stratification works best in zones 5–8 with mild winters. Just monitor for critters or freezing temps!
How do I know when it’s safe to plant stratified seeds?
Wait until spring’s last frost date (check your USDA zone) and soil temps reach 60°F (15°C). Plant seeds ½ inch deep in well-draining soil, spacing them 10–12 inches apart. Thin seedlings to the strongest sprout—persimmons need room to grow!
Bonus Tip: Label your seeds!
Persimmon varieties can vary wildly (some are sweet, others astringent). Use toothpicks or tags to mark containers with the seed source (e.g., “Fuyu” or “wild harvest”). Future you will thank present you!
Wrapping up and next steps
Cold stratification isn’t just a gardening trick—it’s your secret weapon for unlocking vibrant spring blooms from persimmon seeds! By mimicking winter’s chill, you’re giving those tiny seeds the head start they need to break dormancy and thrive.
Whether you’re a seasoned green thumb or a curious beginner, this method is your ticket to reliable, lush growth when spring rolls around.
Ready to plant the seeds of success? Grab those materials, follow the steps, and watch your persimmon seeds transform into flourishing trees. Start your stratification journey today! 🌱✨