Pruning
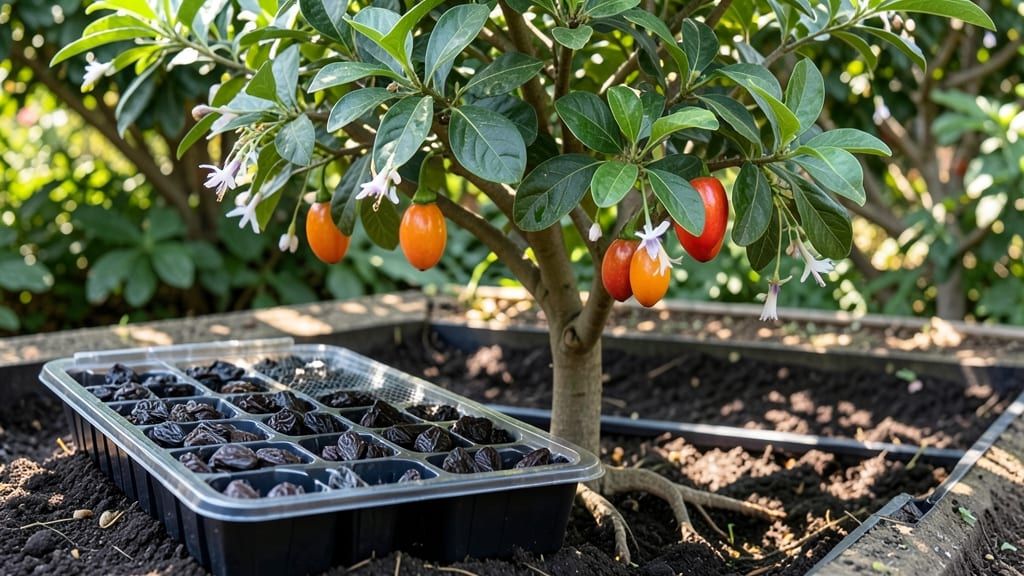
Growing tamarillo trees from seeds starts with the right stratification steps—otherwise, you’ll stare at dry paper for months. 🌱 I’ve learned the hard way that tamarillo seeds need a cold, damp trick to wake up, and skipping this step means waiting twice as long (or giving up entirely).
The key is mimicking their natural dormancy cycle, which turns stubborn seeds into eager sprouts within weeks instead of months.
You’ll need just three things: a plastic bag, a damp paper towel, and patience. Place the seeds between the towel layers, seal them in the bag with a tiny air pocket, and refrigerate for 4-6 weeks.
No fancy equipment—just a kitchen drawer and a reminder to check them every few days. The goal is consistent moisture without rot, which means squeezing out excess water before sealing.
Once those seeds crack open and send down tiny white roots, you’ll transplant them into well-draining soil with a mix of perlite to keep them from drowning. Keep the soil warm (around 70°F) and humid, and you’ll see those first leaves in 2-3 weeks.
The real magic happens when you move them outdoors after the last frost—suddenly, what started as a paper-thin seed becomes a lush, tropical-looking shrub.
Here’s the thing about tamarillos: they’re finicky but rewarding. If you’re in zones 9-11, you can grow them outside year-round; cooler climates need containers that move indoors. The biggest mistake?
Overwatering or letting them dry out completely. Stick with me, and by summer, you’ll be harvesting those bright orange fruits that taste like a mix of tomato and pineapple.
📚 In This Guide
- What you need
- Instructions
- Tips and common mistakes
- Wrapping up and next steps
What you need
- ● Tamarillo seeds: 10–20 fresh, viable seeds (harvested from ripe fruit or purchased from a trusted supplier). Pro tip: 💡 Store seeds in a cool, dry place if not using immediately!
- ● Stratification medium: Option 1: Paper towels (2–3 sheets) or coir mats (1–2 mats)
- ● Option 2: Peat moss or coconut coir (1 small bag, ~1 quart)
- ● Plastic zip-top bags: 1–2 gallon-sized bags (resealable, with a small hole for airflow)
- ● Spray bottle: 1 (with water or a mild fungicide solution)
- ● Small container: 1 (for mixing medium, like a shallow tray or bowl)
- ● Fine-mesh strainer: 1 (for rinsing seeds if needed)
- ○ Rubbing alcohol (70% isopropyl): 1 small bottle (for sterilizing seeds, optional but recommended)
- ● Labeling tags: 2–3 (to track seed batches)
- ● Refrigerator: 1 (for cold stratification, must maintain 35–40°F (2–4°C))
- ○ Grow lights or sunny windowsill: 1 (for post-stratification germination, optional)
Step-by-step stratification for tamarillo tree seeds
Here's the foolproof method I use to break tamarillo seed dormancy and get strong, healthy sprouts.
🌱 Step 1: Extract and Clean the Seeds
Open the tamarillo fruit carefully to reveal the seeds inside. They'll be encased in a gelatinous pulp—rinse them thoroughly under cool running water to remove all residue. This step is crucial because leftover fruit sugars can attract mold during stratification.
Spread the clean seeds on a paper towel to air-dry for 24 hours. You want them completely dry to the touch before moving to the next phase. I like to place them on a wire rack in a warm, dry spot away from direct sunlight. Once dry, they're ready for the stratification process that mimics winter's natural chilling period.
💧 Step 2: Cold Stratify for 6-8 Weeks
Place the dried seeds in a resealable plastic bag with a damp paper towel. The towel should feel slightly moist but not dripping—think of it like wringing out a sponge. Seal the bag and place it in your refrigerator's crisp drawer where temperatures hover around 35-40°F.
Check the seeds weekly to ensure the paper towel remains moist. If it feels dry, mist it lightly with water and reseal. This cold treatment breaks the seed's natural dormancy, which is why tamarillo seeds often fail to sprout without it. After 6-8 weeks, your seeds will be ready for germination.
☀️ Step 3: Prepare Germination Containers
Fill small seed-starting pots with a well-draining seed-starting mix. I use 4-inch pots for tamarillo seeds because they need room to develop strong roots before transplanting. Moisten the mix until it's damp but not soggy—you should be able to squeeze a handful without water dripping out.
Plant the stratified seeds ½ inch deep in the soil. I like to use a pencil to make small holes for each seed, then gently press it in. Place two seeds per pot to account for potential germination failures. Water lightly after planting to settle the soil around the seeds.
🌿 Step 4: Provide Warmth and Humidity
Cover the pots with clear plastic wrap or a humidity dome to create a greenhouse effect. Tamarillo seeds germinate best at 70-75°F, so place them on a seedling heat mat if your home runs cooler. You should see sprouts within 2-4 weeks, though some seeds may take longer.
Remove the plastic cover immediately once you see the first signs of sprouting. This prevents damping-off disease, which can kill young seedlings overnight. Keep the soil consistently moist but never waterlogged—you'll know it's right when the surface looks slightly damp but not glistening.
⏰ Step 5: Transplant Seedlings Carefully
When seedlings reach 3-4 inches tall and have developed their first true leaves, it's time to transplant. Choose a pot that's 6-8 inches wide with drainage holes. Fill it with a mix of potting soil and perlite to ensure good drainage—tamarillos hate soggy roots.
Gently remove the seedling from its original pot, being careful not to disturb the roots. Place it in the new container and fill around it with soil, pressing lightly to secure it. Water thoroughly after transplanting, then place the pot in bright, indirect light. Gradually introduce it to more sunlight over 1-2 weeks to avoid leaf scorch.
Tips & tricks for tamarillo seed stratification success
A few key strategies will help you avoid common pitfalls and maximize your tamarillo seed germination rates.
The Drying Phase: That 24-hour drying period is non-negotiable for tamarillo seeds. I learned this the hard way after trying to rush it—moisture trapped in the seeds leads to mold during stratification. Place your seeds on a single layer of paper towel rather than stacking them to ensure even airflow. A wire rack in a warm, dry spot (around 70°F) works perfectly, but avoid direct sunlight which can overheat them.
Cold Stratification Secrets: The refrigerator's crisp drawer at 35-40°F is ideal, but if your fridge runs hotter, move the bag to the main compartment where temperatures are more consistent. I've had success using a seed stratification box set to 40°F for precise control. During the 6-8 week period, check your seeds weekly—not just for moisture, but also for any signs of mold or softening, which would indicate the seeds need to be dried further before restarting stratification.
Germination Environment: Tamarillo seeds thrive at 70-75°F during germination, but many homes struggle to maintain this warmth. A seedling heat mat set to 75°F under your pots will make all the difference. I place a small fan nearby to create gentle airflow—this prevents the humidity dome from becoming too saturated, which can cause damping-off disease. The moment you see the first signs of sprouting, remove that plastic cover immediately to prevent the seedlings from becoming leggy or developing fungal issues.
Transplanting Timing: Wait until your seedlings reach 3-4 inches with true leaves before transplanting—this gives them enough energy reserves to handle the shock. When moving to 6-8 inch pots, I always add perlite to the potting mix to improve drainage, since tamarillos are particularly sensitive to root rot. Gradually introduce them to sunlight over 1-2 weeks by moving them to brighter locations incrementally, starting with just a few hours of morning sun.
Pro Tips for Tamarillo Tree Seeds
- A few key strategies will help you avoid common pitfalls and maximize your tamarillo seed germination rates.
- The Drying Phase: That 24-hour drying period is non-negotiable for tamarillo seeds. I learned this the hard way after...
- Cold Stratification Secrets: The refrigerator's crisp drawer at 35-40°F is ideal, but if your fridge runs hotter, mov...
Frequently asked questions
Got questions about tamarillo tree seeds and their germination journey? You’re not alone! Here are some of the most common queries—and their straightforward answers—to help you grow confidently.
How long does tamarillo seed stratification take?
Tamarillo seeds typically need 6–12 weeks of cold stratification (40–50°F) to break dormancy. Some seeds may sprout faster, while others take longer—patience is key! Monitor moisture levels (keep damp but not soggy) and check periodically for signs of life.
Can I skip stratification and still grow tamarillos?
While possible, skipping stratification drastically reduces germination rates (often below 20%). If you’re impatient, try soaking seeds in warm water for 24 hours first, but combine this with a short cold period (even a fridge) for best results. Nature’s timing matters!
What’s the best temperature for tamarillo seed germination?
Once stratified, aim for 70–80°F (21–27°C) during the day and slightly cooler nights. Use a seedling heat mat if your home runs cooler. Avoid extremes—too hot, and seeds may rot; too cold, and they’ll stall. A sunny windowsill or grow light works wonders!
Why aren’t my tamarillo seeds sprouting after stratification?
Common culprits include overwatering (root rot), old seeds (viability drops after 2 years), or inconsistent moisture. Try this: Place seeds in a paper towel with a damp (not wet) cloth, seal in a bag, and refrigerate for 2 more weeks. If still no luck, test a few seeds in warm water—if they float, they’re likely non-viable.
How deep should I plant tamarillo seeds after stratification?
Plant seeds ¼–½ inch deep in well-draining soil (mix potting soil with perlite). Press gently to ensure contact with moisture. Over-deep planting can delay sprouting, while shallow planting risks drying out. A clear plastic dome or humidity tray speeds up the process—just remove it once sprouts appear!
Wrapping up and next steps
Growing a tamarillo tree from seed is a rewarding journey that combines patience and care—especially with the right stratification steps! By following the techniques shared here, you’re setting yourself up for reliable sprouts and a thriving plant. Remember, consistency is key, whether you’re chilling seeds or nurturing young seedlings.
Ready to take the next step? Order your tamarillo seeds today and get started—your future harvest of vibrant, tangy fruit is just a few months (and a little soil) away! 🌱✨